前端应用
NodeJS 的版本切换
在前端开发中,项目可能对node版本有要求,模板预装的版本不匹配,过高过低都无法运行项目的情况,因此需要用户根据所需手动设置node版本。
首先需要找到要的版本(后缀自行修改),后缀名是 -linux-x64.tar.gz 的文件,并上传到 IDE 项目中
https://registry.npmmirror.com/binary.html?path=node/v18.16.0/

打开IDE的终端,解压该版本的 nodejs
tar -xzvf node-v18.16.0-linux-x64.tar.gz -C $HOME/.local
编辑 zsh 终端的配置文件(默认是使用zsh的)
# vim $HOME/.zshrc
...
export PATH=$HOME/.local/node-v18.16.0-linux-x64/bin:$PATH
关闭并重新打开或使用新建的终端即可生效
前端应用框架配置
Vite
对于版本较新的 Vite 项目只需要在 vite.config.js 中添加 server.host 以及 server.port 即可。
import { defineConfig } from 'vite'
import vue from '@vitejs/plugin-vue'

export default defineConfig({
  plugins: [vue()],
  server: {
    // open: true,
    // https: true,
    host: true,
    port: 8888
  }
})
对于版本较旧的 Vite 项目则需要在 vite.config.js 中添加 server.host 以及 server.port 和 server.hmr.clientPort。
import { defineConfig } from 'vite'
import vue from '@vitejs/plugin-vue'

export default defineConfig({
    plugins: [vue()],
    server: {
        // open: true,
  		// https: true,
        host: true,
        port: 8888,
        hmr: {
            clientPort: 443
        }
    }
})
注意:
-
将
server.open设置为false或者不设置 -
将
server.https设置为true或者不设置 -
将
server.host设置为true或者0.0.0.0,必填项 -
将
server.port设置为所需的端口号,必填项 -
启动项目调出侧边栏端口映射,对项目端口进行设置勾选
使用子域名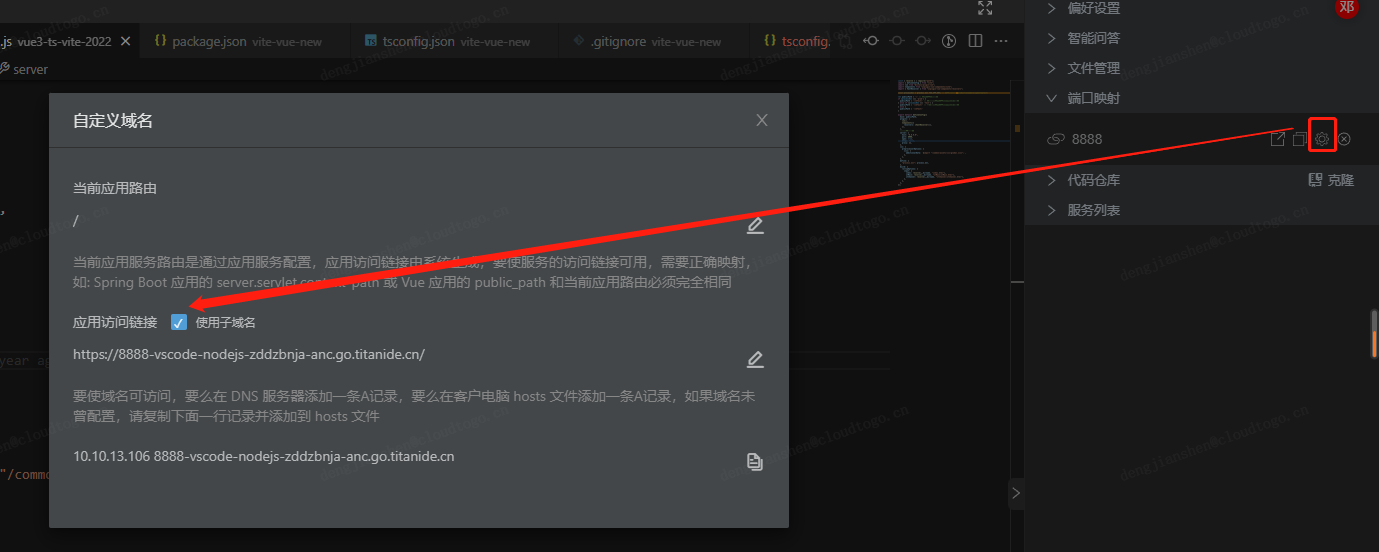
-
将
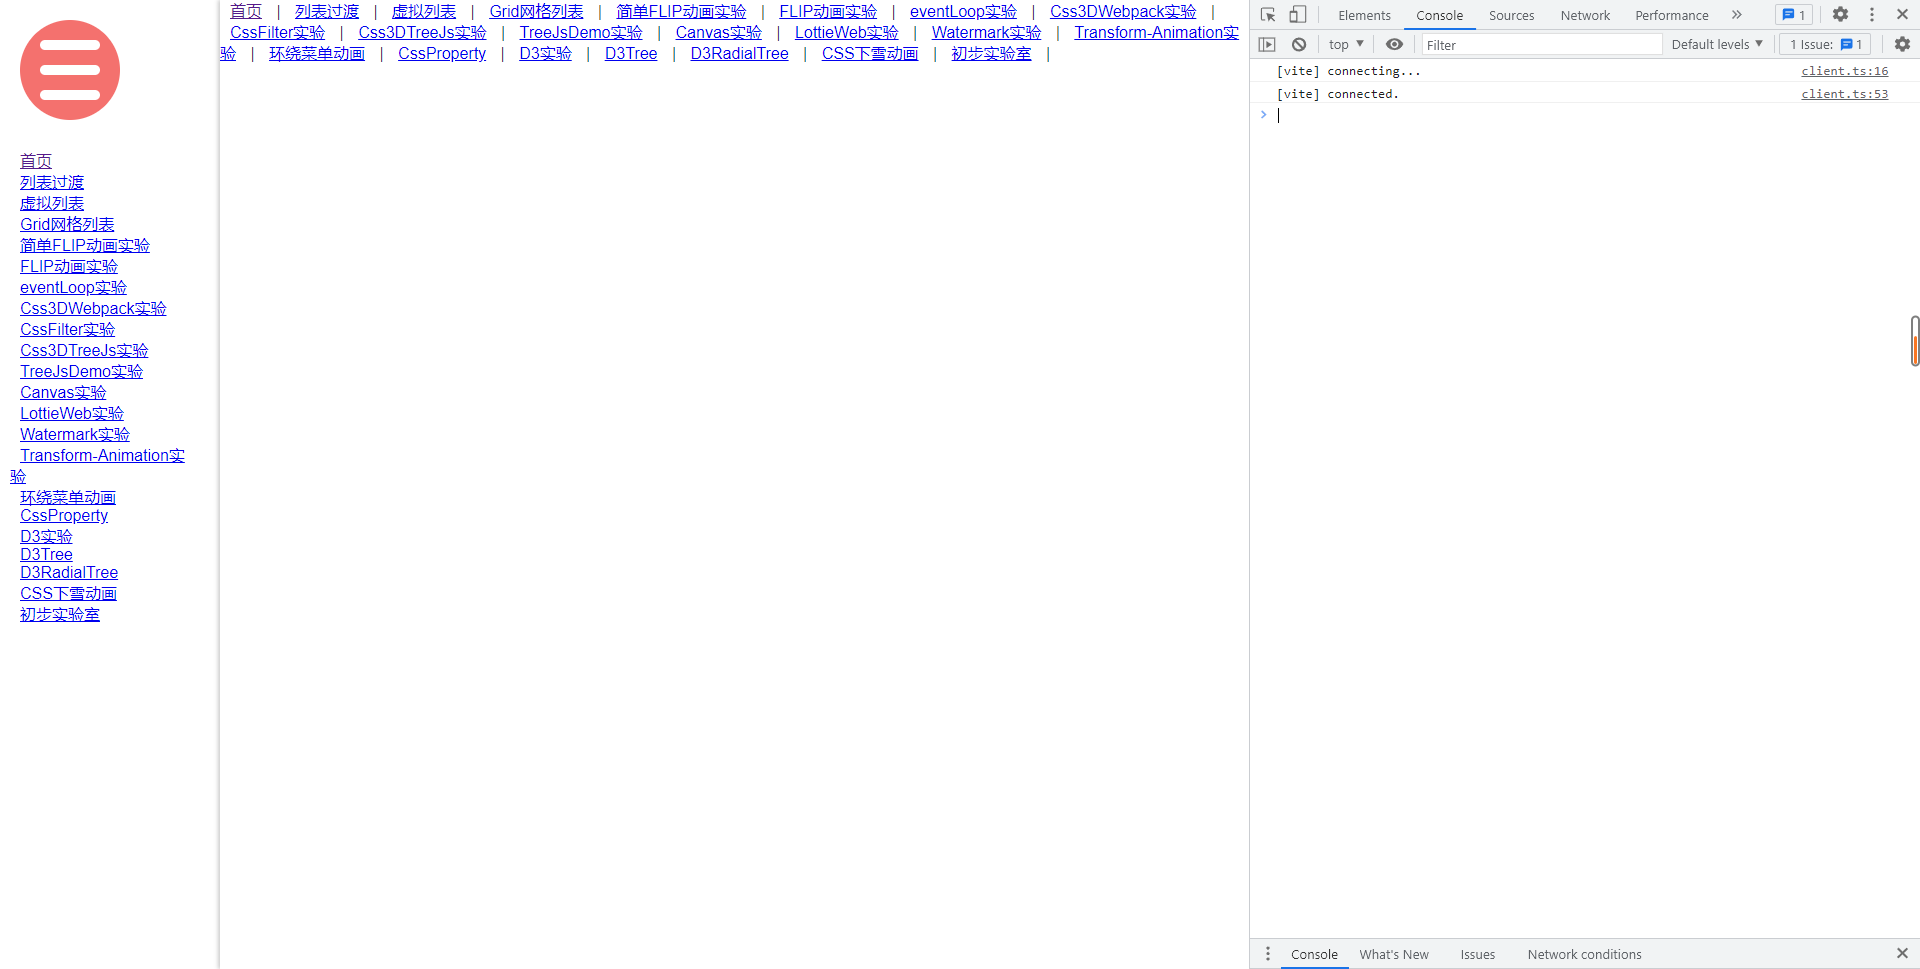
server.hmr.clientPort设置为443(较旧的Vite项目才需要设置)如何区分是否需要设置该配置?在以上设置无误后,打开端口映射好的项目地址,页面处于不断刷新的状态就需要添加该配置
设置无误后即可正常开发 Vite 项目
Angular
Angular 项目需要在 angular.json 中添加 projects.angular-app.architect.serve.options 的 host、port、allowedHosts
{
  "$schema": "./node_modules/@angular/cli/lib/config/schema.json",
  "version": 1,
  "newProjectRoot": "projects",
  "projects": {
    "angular-app": {
      "projectType": "application",
      "schematics": {},
      "root": "",
      "sourceRoot": "src",
      "prefix": "app",
      "architect": {
        "build": {
          "builder": "@angular-devkit/build-angular:browser",
          "options": {
            "outputPath": "dist/angular-app",
            "index": "src/index.html",
            "main": "src/main.ts",
            "polyfills": [
              "zone.js"
            ],
            "tsConfig": "tsconfig.app.json",
            "assets": [
              "src/favicon.ico",
              "src/assets"
            ],
            "styles": [
              "src/styles.css"
            ],
            "scripts": []
          },
          "configurations": {
            "production": {
              "budgets": [
                {
                  "type": "initial",
                  "maximumWarning": "500kb",
                  "maximumError": "1mb"
                },
                {
                  "type": "anyComponentStyle",
                  "maximumWarning": "2kb",
                  "maximumError": "4kb"
                }
              ],
              "outputHashing": "all"
            },
            "development": {
              "buildOptimizer": false,
              "optimization": false,
              "vendorChunk": true,
              "extractLicenses": false,
              "sourceMap": true,
              "namedChunks": true
            }
          },
          "defaultConfiguration": "production"
        },
        "serve": {
          "options": {
            "host": "0.0.0.0",
            "port": 8888,
            "allowedHosts": ["8888-xxx-xxx.go.titanide.cn"]
          },
          "builder": "@angular-devkit/build-angular:dev-server",
          "configurations": {
            "production": {
              "browserTarget": "angular-app:build:production"
            },
            "development": {
              "browserTarget": "angular-app:build:development"
            }
          },
          "defaultConfiguration": "development"
        },
        "extract-i18n": {
          "builder": "@angular-devkit/build-angular:extract-i18n",
          "options": {
            "browserTarget": "angular-app:build"
          }
        }
      }
    }
  }
}
注意:
projects.angular-app.architect.serve.options.host必填项且值必须是0.0.0.0projects.angular-app.architect.serve.options.port根据项目需要填,默认是Angular的默认端口号4200- 启动项目调出侧边栏端口映射,对项目端口进行设置勾选
使用子域名 projects.angular-app.architect.serve.options.allowedHosts根据第3点获取到的地址,将它的host值填写上
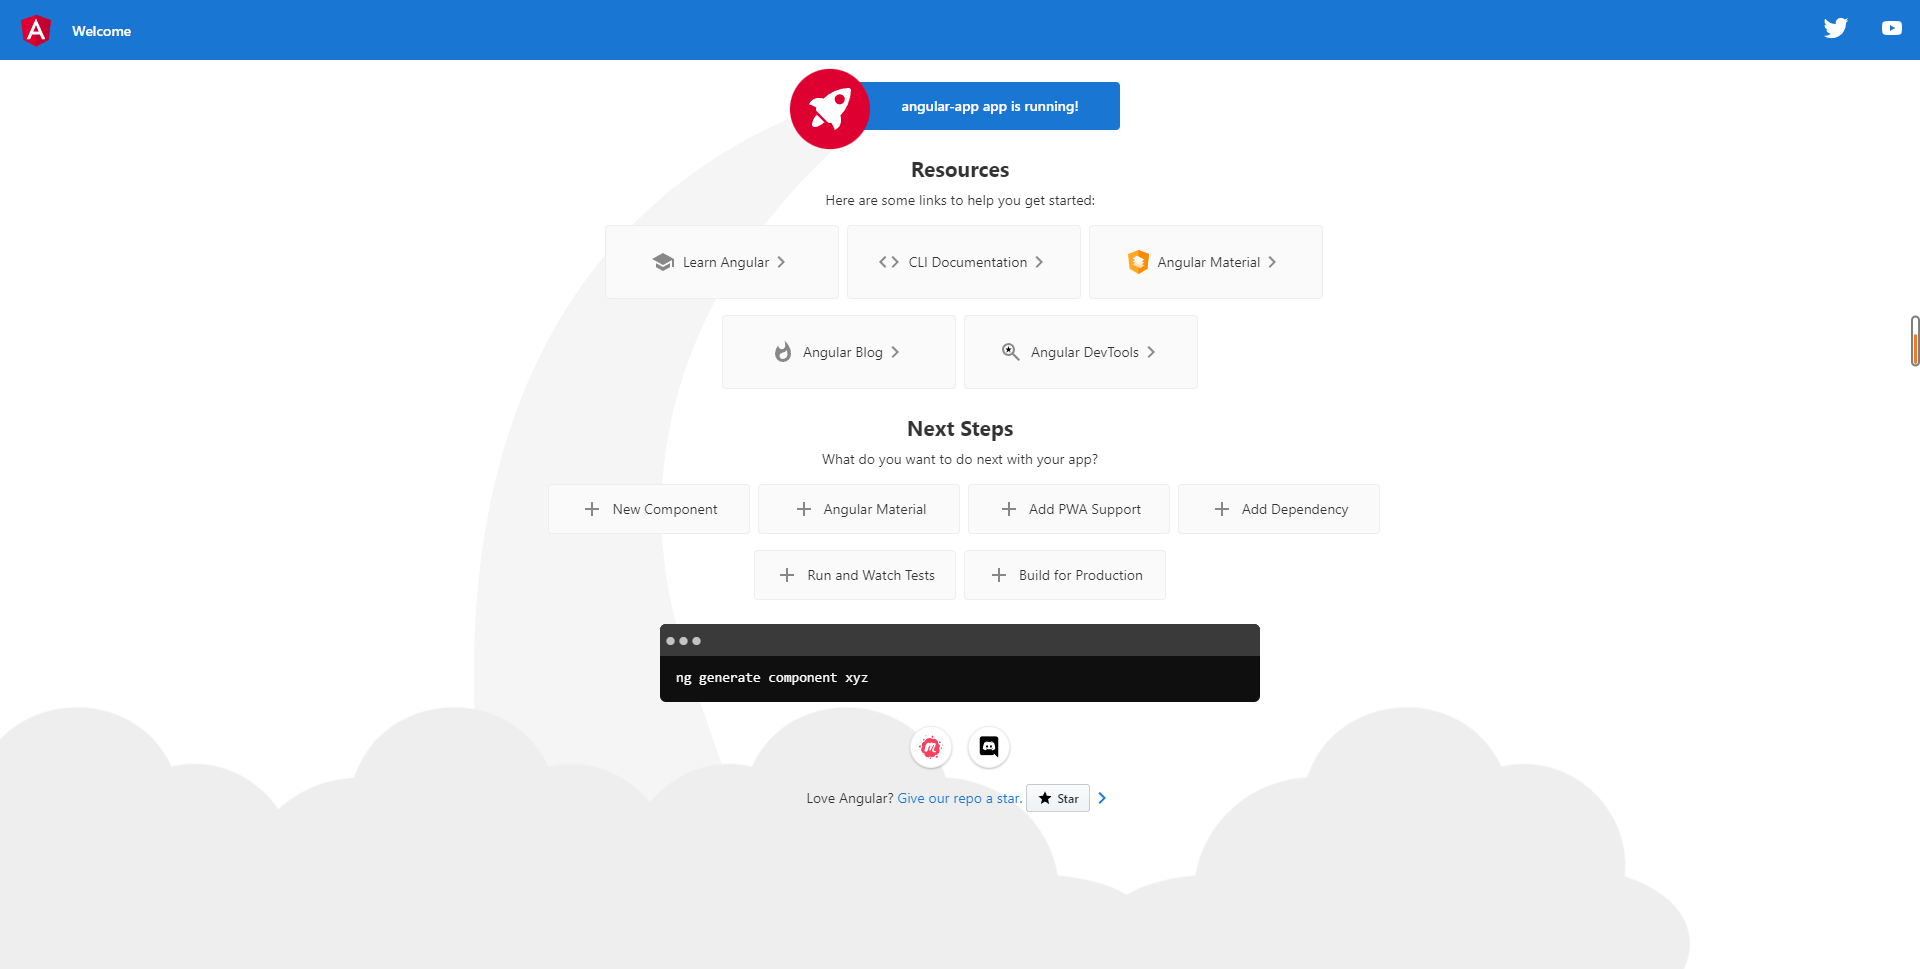
设置无误后即可正常开发 Angular 项目
Vue
Vue 项目需要在 vue.config.js 中添加 devserver.port 的 devserver.allowedHosts、devserver.host 非必填,但填写时必须是 0.0.0.0
const { defineConfig } = require('@vue/cli-service')
module.exports = defineConfig({
  transpileDependencies: true,
  devServer: {
    // host: "0.0.0.0",
    port: 8888,
    allowedHosts: ["8888-xxx-xxx.go.titanide.cn"]
  }
})
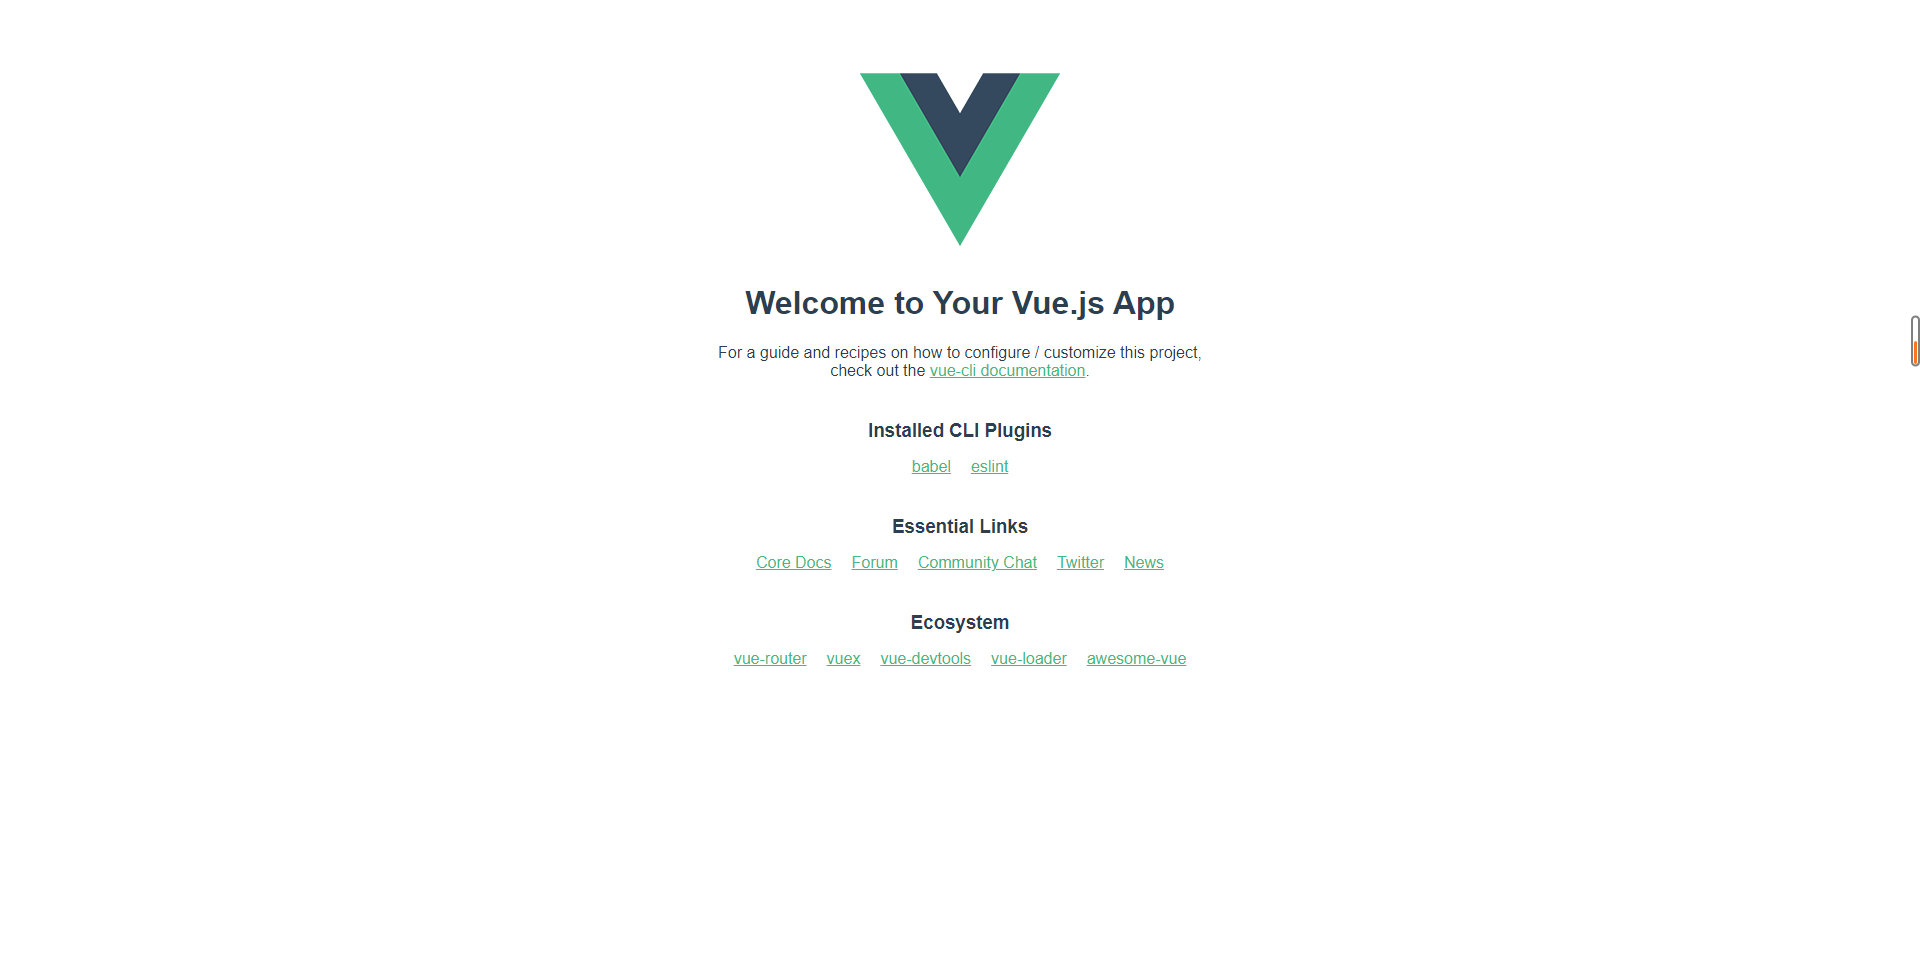
设置无误运行项目后在端口映射设置 使用子域名 即可正常开发 Vue 项目
React
React 项目中需要在 webpackDevServer.config.js 中添加 client.webSocketURL.port 必填且必须是 443
'use strict';

const fs = require('fs');
const evalSourceMapMiddleware = require('react-dev-utils/evalSourceMapMiddleware');
const noopServiceWorkerMiddleware = require('react-dev-utils/noopServiceWorkerMiddleware');
const ignoredFiles = require('react-dev-utils/ignoredFiles');
const redirectServedPath = require('react-dev-utils/redirectServedPathMiddleware');
const paths = require('./paths');
const getHttpsConfig = require('./getHttpsConfig');

const host = process.env.HOST || '0.0.0.0';
const sockHost = process.env.WDS_SOCKET_HOST;
const sockPath = process.env.WDS_SOCKET_PATH; // default: '/ws'
const sockPort = process.env.WDS_SOCKET_PORT;

module.exports = function (proxy, allowedHost) {
  const disableFirewall =
    !proxy || process.env.DANGEROUSLY_DISABLE_HOST_CHECK === 'true';
  return {
    allowedHosts: disableFirewall ? 'all' : [allowedHost],
    headers: {
      'Access-Control-Allow-Origin': '*',
      'Access-Control-Allow-Methods': '*',
      'Access-Control-Allow-Headers': '*',
    },
    // Enable gzip compression of generated files.
    compress: true,
    static: {
      directory: paths.appPublic,
      publicPath: [paths.publicUrlOrPath],
      watch: {
        ignored: ignoredFiles(paths.appSrc),
      },
    },
    client: {
      webSocketURL: {
        hostname: sockHost,
        pathname: sockPath,
        port: 443,
      },
      overlay: {
        errors: true,
        warnings: false,
      },
    },
    devMiddleware: {
      publicPath: paths.publicUrlOrPath.slice(0, -1),
    },

    https: getHttpsConfig(),
    host,
    historyApiFallback: {
      disableDotRule: true,
      index: paths.publicUrlOrPath,
    },
    proxy,
    onBeforeSetupMiddleware(devServer) {
      devServer.app.use(evalSourceMapMiddleware(devServer));

      if (fs.existsSync(paths.proxySetup)) {
        require(paths.proxySetup)(devServer.app);
      }
    },
    onAfterSetupMiddleware(devServer) {
      devServer.app.use(redirectServedPath(paths.publicUrlOrPath));

      devServer.app.use(noopServiceWorkerMiddleware(paths.publicUrlOrPath));
    },
  };
};
设置无误运行项目后在端口映射设置 使用子域名 即可正常开发 React 项目
Umi.js
无需设置,运行项目后在端口映射设置 使用子域名 即可正常开发 Umi 项目

Next.js
无需设置,运行项目后在端口映射设置 使用子域名 即可正常开发 Next.js (12版本以下)项目

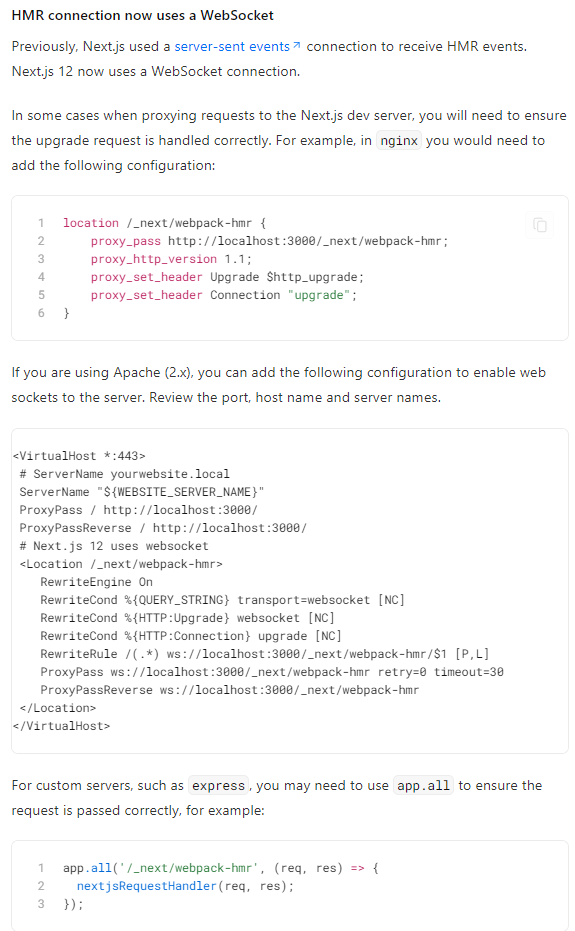
如果是12版本及以上的 Next.js 则需要额外在项目中做一些工作以启用热更新 如 官方文档 所示
Nuxt.js
在 package.json 中设置 config.nuxt.host 再需设置 config.nuxt.port 即可,运行项目后在端口映射设置 使用子域名 即可正常开发 Nuxt.js
{
  "name": "nuxt-app",
  "version": "1.0.0",
  "private": true,
  "config": {
    "nuxt": {
      "host": "0.0.0.0",
      "port": "8888"
    }
  },
  "scripts": {
    "dev": "nuxt",
    "build": "nuxt build",
    "start": "nuxt start",
    "generate": "nuxt generate"
  },
  "dependencies": {
    "ant-design-vue": "^1.7.8",
    "core-js": "^3.25.3",
    "nuxt": "^2.15.8",
    "pug": "^3.0.2",
    "pug-plain-loader": "^1.1.0",
    "vue": "^2.7.10",
    "vue-server-renderer": "^2.7.10",
    "vue-template-compiler": "^2.7.10"
  },
  "devDependencies": {}
}

微前端
由于本地开发与在线上IDE平台开发存在差异,因此需要对前端项目做一些处理以兼容本地和线上开发的需要。
首先,安装一个 cross-env 的库:
npm i -D cross-env
这里以 无界微前端 官方示例项目为例
// main-vue 主应用 package.json
{
    ...
    "scripts": {
      "start": "vue-cli-service serve",
      "start-titanide": "cross-env platform=titanide vue-cli-service serve",
      "build": "vue-cli-service build",
      "lint": "vue-cli-service lint"
    },
    ...
}
新增一行项目开发的运行脚本 start-titanide ,它是基于 start 的脚本,使用 cross-env 设置环境变量,而通过 npm run start-titanide 启用项目,这个环境变量就可以判断是在线上IDE开发的了。
// main-vue 主应用 vue.config.js

const webpack = require("webpack");

module.exports = {
  publicPath: process.env.NODE_ENV === "production" ? "/demo-main-vue/" : "/",
  devServer: {
    headers: {
      "Access-Control-Allow-Origin": "*",
    },
    open: false,
    port: "8000",
    host: "0.0.0.0",
    allowedHosts: ["8000-vscode-vue-cusoqlyv-anc.go.titanide.cn"], // 自定义域名
  },
  configureWebpack: {
    plugins: [
      new webpack.DefinePlugin({
        "process.env": {
          platform: JSON.stringify(process.env.platform), // 与 package.json 设置的用于判断变量对应
        },
      }),
    ],
  },
  transpileDependencies: ["sockjs-client"],
};
根据 process.env.platform 判断使用 localhost 还是线上IDE的子域名。
<template>
  <WujieVue width="100%" height="100%" name="react16" :url="react16Url" :sync="true"></WujieVue>
</template>

<script>
import hostMap from "../hostMap";

export default {
  data() {
    return {
      // react16Url: hostMap("//localhost:7600/"),
      react16Url:
        process.env.platform === "titanide"
          ? "https://7600-vscode-vue-cusoqlyv-anc.go.titanide.cn/"
          : hostMap("//localhost:7600/"),
    };
  },
};
</script>
